Ever felt like the official Slack documentation was written in hieroglyphics? You're not alone! After spending way too much time deciphering how to create a Slack bot and enable webhooks, I decided to put together this guide.
Why? Because getting real-time notifications in your Slack channel shouldn't be rocket science. Plus, my team and I use Slack for almost everything, so having those event notifications right where we chat is a game-changer.
So, let's cut through the noise and get you set up with a Slack bot in no time!


Let's dive into how we can create these awesome notifications!
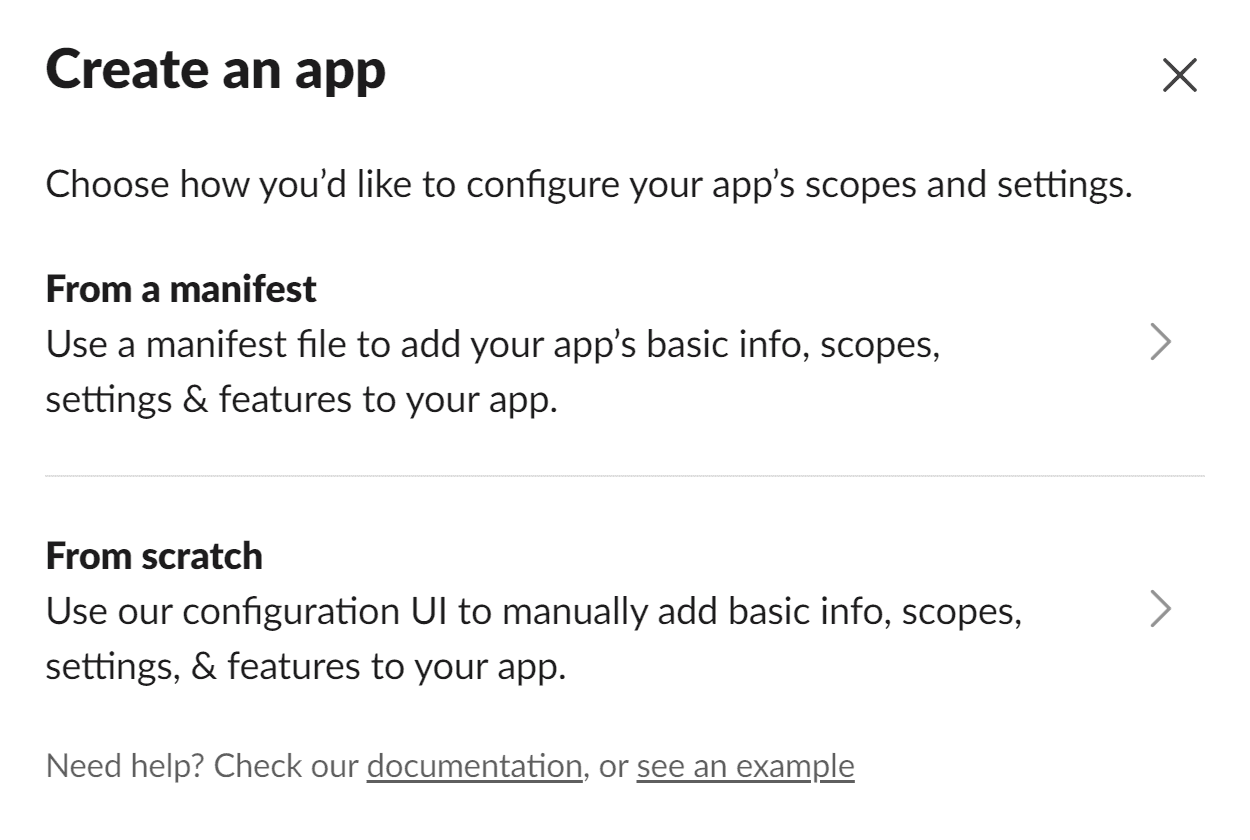
Head over to the Slack API. Once you're logged in, click on the Create New App button.

Click on Create from scratch to get started with your new Slack bot.
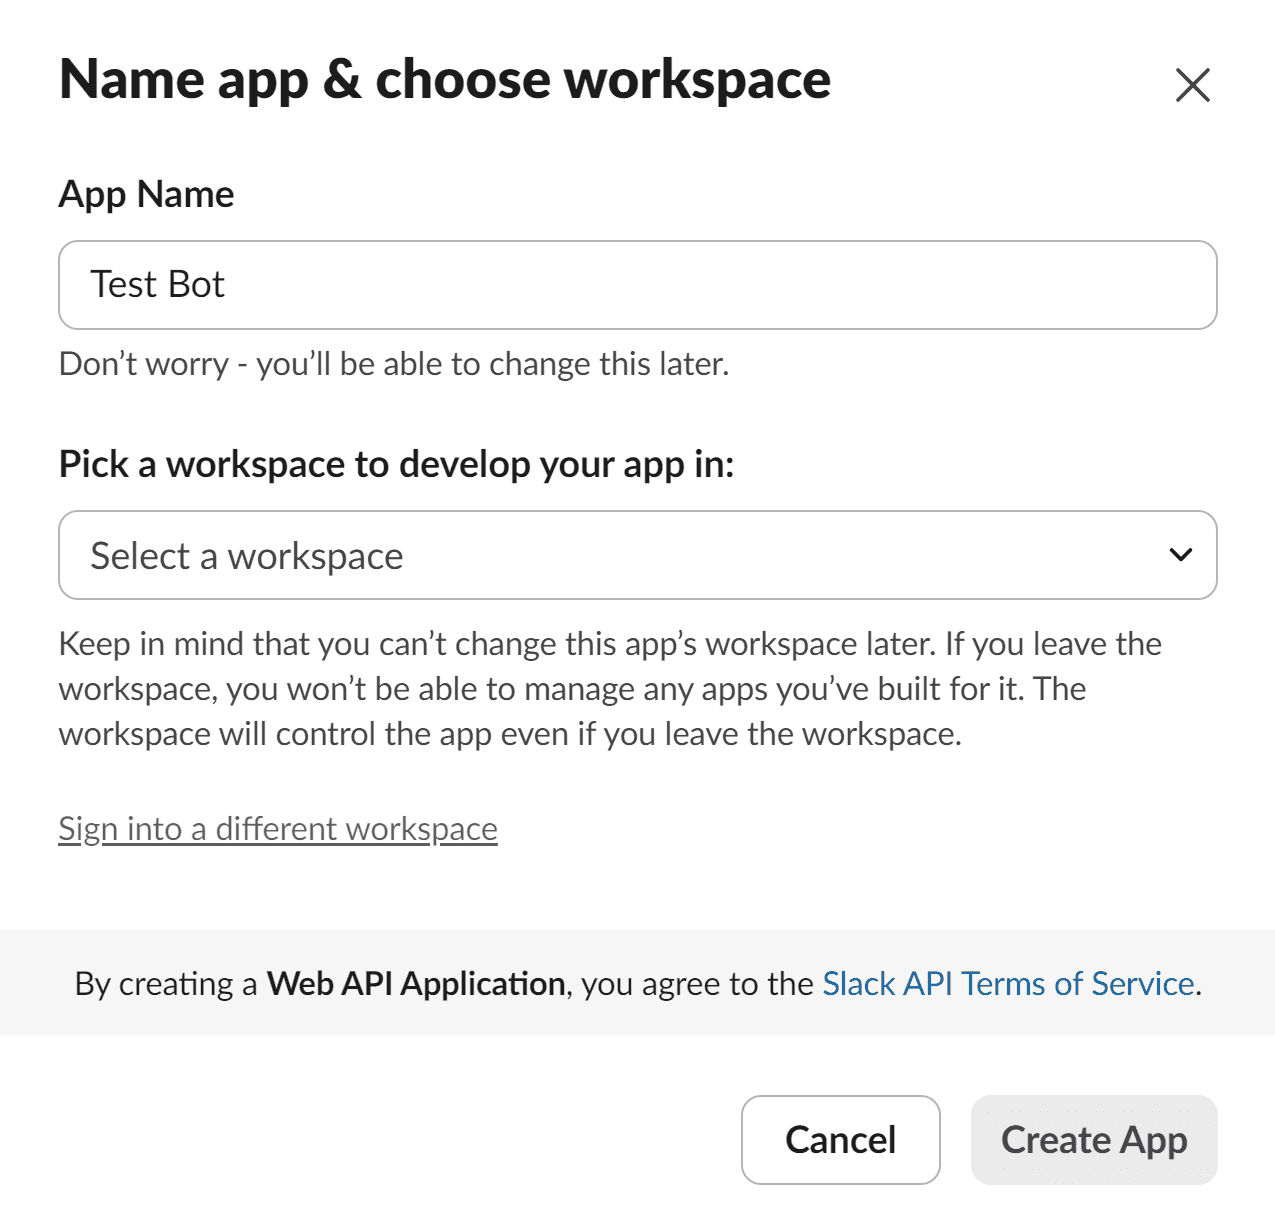
Give your app a catchy name, select the workspace where it will live, and hit Create App.
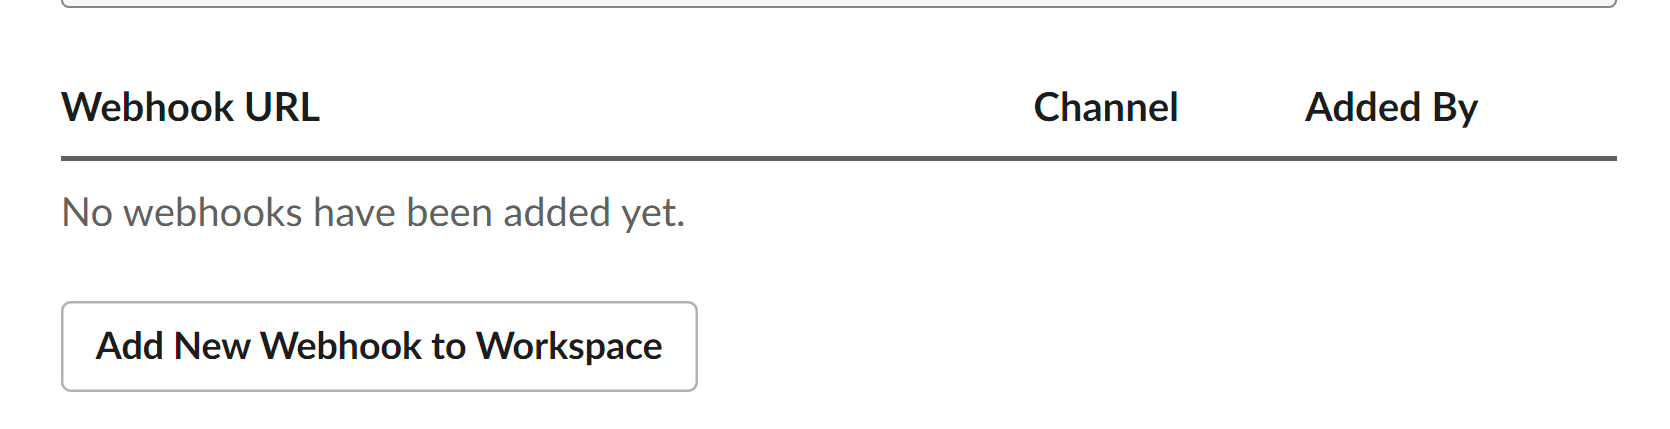
Now that we've created the app, let's set up a webhook to publish messages to a specific channel.
Click on Incoming Webhooks and toggle the Activate Incoming Webhooks switch. This will enable the Add new webhook to workspace button.
Heads up: If you're on Slack's free tier, you're limited to 10 apps per workspace. So, make sure you only install what's necessary.
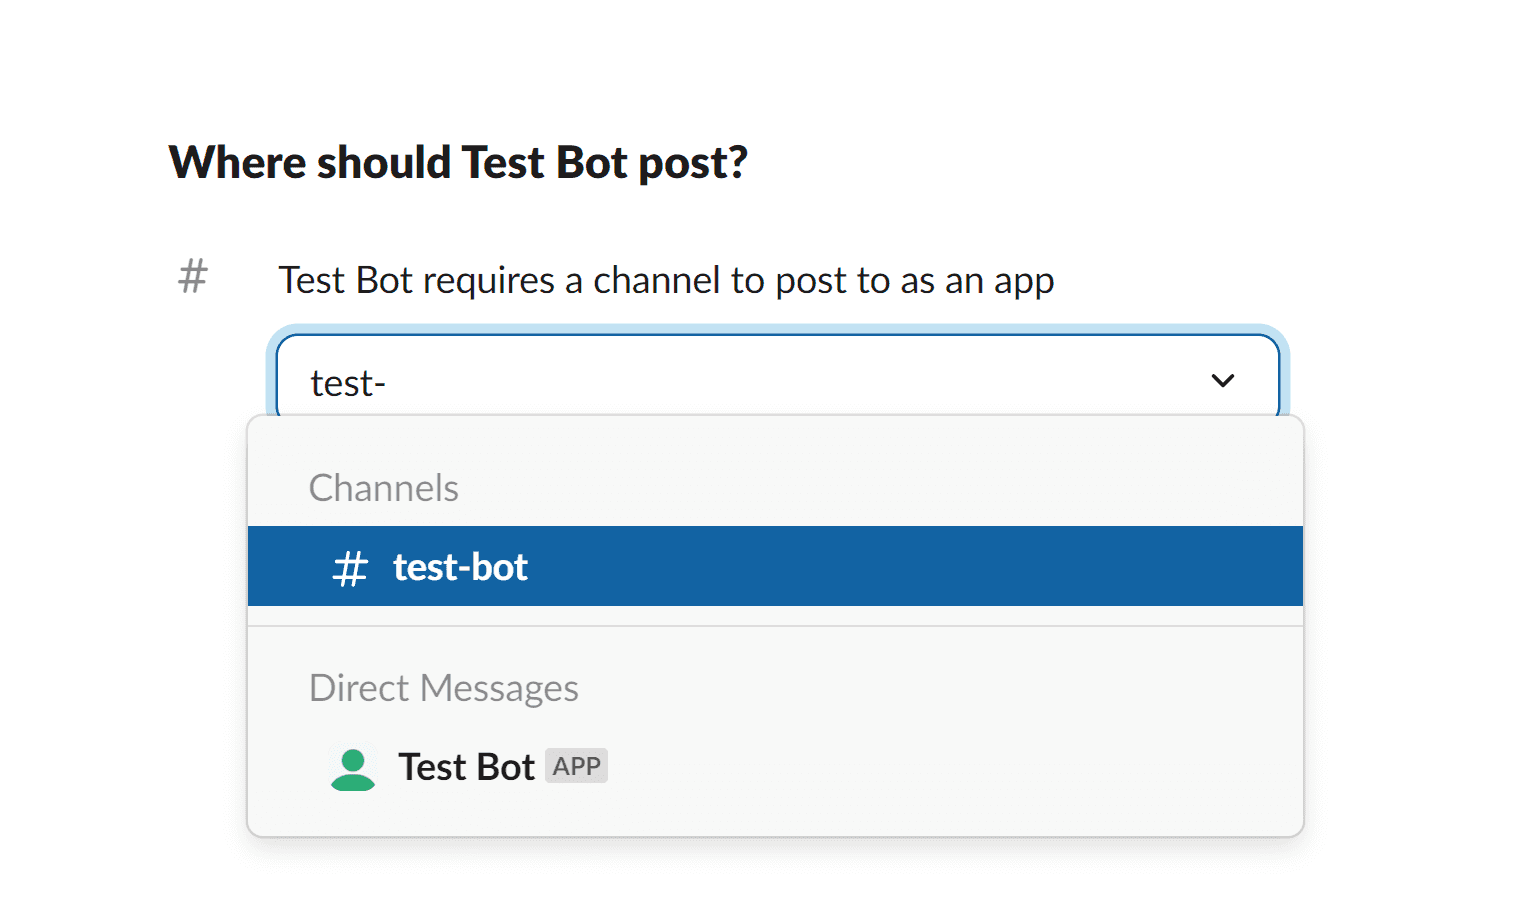
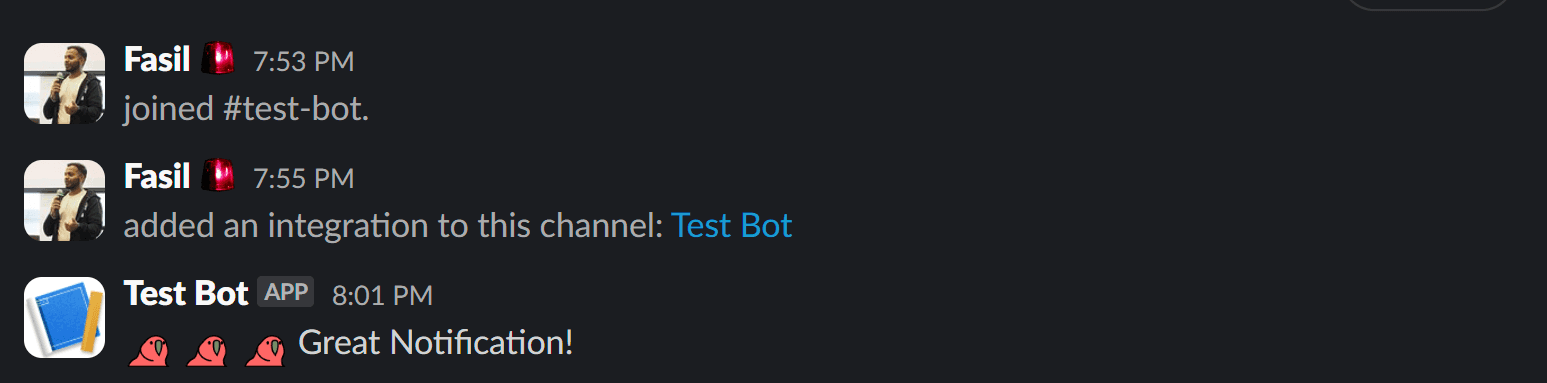
Next, select the channel where your bot should post. I've created a channel called #test-bot for testing purposes.
Once you click on Allow, you'll be redirected back to the webhooks page where you'll see your shiny new webhook.

Now, let's test it out! Replace <your awesome webhook> in the curl command below with your actual webhook URL:
curl --location '<your awesome webhook>' \--header 'Content-type: application/json' \--header 'Cookie: b=5302b6a0d86156be293aae2e14ef0cd1' \--data '{ "text": ":60fps_parrot: :60fps_parrot: :60fps_parrot: Great Notification!"}'
Make a curl request via terminal or from Postman, and voilà!
You can further customize how the bot looks in the app management page.
In my next blog, Streamline App Monitoring with Seq, I'll discuss how we leverage Slack for app monitoring.
Stay tuned!